
Simple Roast Chicken
Posted: March 16, 2017 Filed under: Budgeting, Recipes | Tags: 5 ingredients or less, chicken, Dinner, gluten-free, roast, sunday supper 1 Comment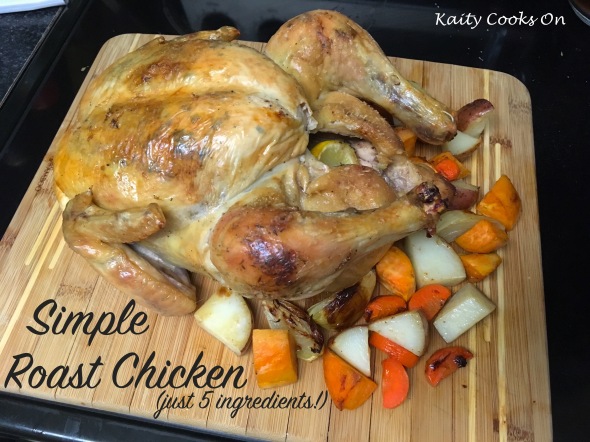 We finally got our snow day on Tuesday, and I think it’s thrown off my whole week. Monday was spent preparing for the storm (our work is tied heavily to the schools, so when they close, we are left with a lot of rescheduling) and then I feel like all of Wednesday was spent trying to get back into the groove. But I did enjoy the day off! It finally gave me a chance to mix up some homemade house cleaning and hair/skincare supplies. I pulled most of my “recipes” from The Hand’s On Home, with which I am only slightly obsessed. All of the various preserved recipes look amazing! Considering that I’ve have breathing trouble the last few times that I’ve cleaned our bathroom (hello childhood asthma) I have really, really wanted to mix up a few sprays and scrubs made from gentler ingredients. I now have a “grime spray” for the kitchen that is already working wonders on our glass stovetop, along with an all-purpose cleaning spray, a scrub for tougher stains, and an acidic spray to cut through soap scum. I’m definitely willing to put in a little more elbow work if it means having the ability to breathe, so we’ll see how it goes!
Last week, a roast chicken was the focal point of my meal plan, with the meat going into another two dishes after the initial roasting night, plus the bones providing the base for several quarts of bone broth. Now, I do realize that roast chicken recipes are a dime a dozen and range from “super” simple to the most complicated mix of flipping and brining and rubbing and soaking, all in order to get a nice golden bird with crispy skin and juicy meat. Roasting a chicken was a little intimidating when I first tried it a few years ago, mostly just for the dense amount of conflicting information that I encountered. I’ve honed my method of choice over the past few years, and I wanted to finally share it here. Yes, it does involve a flip or two, but it only requires 5 ingredients (not including salt and pepper) and, in spite of the flip, is mostly hands off during the roasting time!


I’ve also included the most basic instructions for a drippings-based gravy, plus noted where I add in vegetables, when I decide to make those as well. I’m certain you’ve already heard how well a roast chicken can be used when meal-planning and/or early frugally. It can easily provide the protein for 3 meals, plus creating the base for a fourth meal if you make the bone broth. A rotisserie chicken certainly saves time and effort, and can usually be grabbed for $5. But, I’ve yet to encounter a rotisserie chicken that is clearly marked as being gluten-free. Plus, I’ve found most rotisserie chicken’s clock in at about 3 pounds. I’ll just note that my 5+ pounder was $5.05 and I can be absolutely certain that it is safe for me to eat. That being said, if anyone has a reliable source for GF rotisserie chicken, let me know. Because on some nights, my not having to do anything at all would totally be worth the extra dollar or two!
Roast Chicken
Serves: 6+ | Prep time: 15 minutes | Cook time: 1.5-2 hours
- 1 whole chicken, 5-6 lbs
- 1 lemon
- 2 Tbsp butter, softened
- 1 tsp dried thyme leaves
- 1 clove garlic, minced
- 1 tsp salt
- 1/2 tsp ground pepper
Place a metal cooling rack in a higher-walled baking dish (or use a roasting pan, if you have one). Preheat the oven to 425 degrees F. Mix together the butter, thyme leaves, garlic, and a pinch each of salt and pepper.
It is likely that your chicken still has the giblets and neck within the cavity. Make sure to remove those. You can simmer these in a small covered pot filled with water while the chicken roasts, to create a basic broth to use to make gravy for the chicken (if gravy is your thing–it certainly is a necessity in this house!) Pat the chicken dry all over, including inside the cavity. Cut the lemon into quarters and place within the cavity of the chicken. Place the chicken in the pan, breast side up.
Now we want to get the butter underneath the skin of the chicken. The butter will help to keep the meat from drying out and help to keep the skin crispy. Win-win! Starting at the tail end of the chicken, you should be able to pull up the skin away from the meat. You might have a little resistance, but it should pull away. (Cue me trying not to get too technical, for those who may be a little squeamish!) Use a spoon (or honestly, your fingers) to spread the butter over the breast meat, beneath the skin. You should be able to poke through the dividing layer to get between the skin and the leg meat, too. Add a little butter there as well. Certainly can’t hurt! Sprinkle the rest of the salt and pepper over the outside of the chicken. Truss the chicken. I tried this method for the first time and was quite pleased with it. It definitely keeps the skin from shrinking!
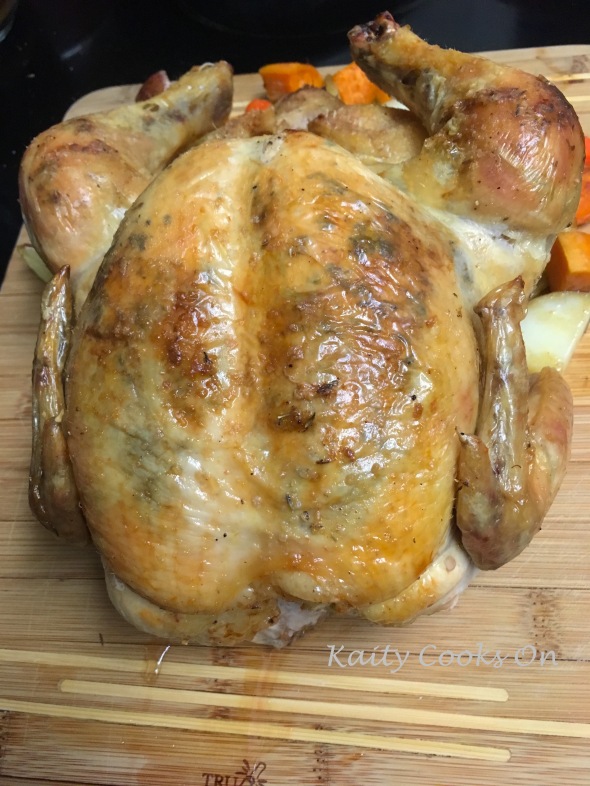
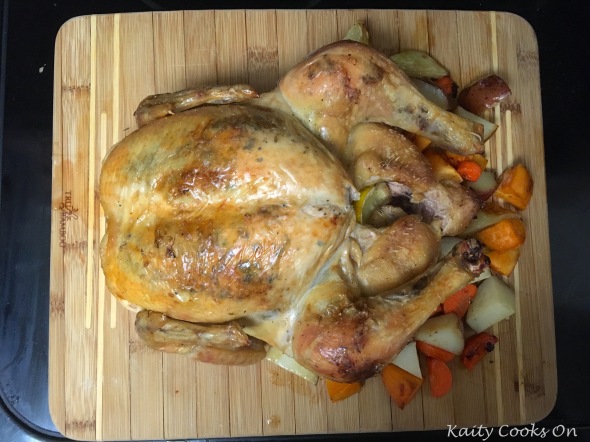
Place the chicken in the oven and cook for 15 minutes, to start the initial browning of the skin. Remove the chicken from the oven and turn the heat down to 350 degrees F. Flip the chicken upside down, so that the breasts are down in the pan (I found it easiest to use tongs). Place back in the oven and continue to cook. You should bargain for 20 minutes per pound (So a 5-lb chicken should cook for 1 hour and 40 minutes. A 6-lb chicken should cook for 2 hours.) Make sure you do the math and set a timer! 🙂 If you want to add any vegetables to roast alongside your chicken, I like to give the chicken a headstart by about 30-40 minutes (if the roasting time is 90+ minutes), then add the chopped veggies into the pan around the chicken for the remainder of the roasting time. Once the time is up, remove the chicken from the oven and use the tongs to flip breast-side-up. Check that the temperature at the thickest part of the thigh has reached 160 degrees (it will raise to 165 degrees while it rests.) If the skin is a little pale, go ahead and broil for a minute or two. Just be sure to keep an eye on it! After broiling (or not), pull the chicken out of the oven and allow it to rest for 10-15 minutes.
While the chicken is resting, you can make gravy. Spoon a tablespoon or two from the drippings at the bottom of the roasting pan into a large skillet over medium heat. Add a spoonful or two of flour until it makes a roux. Let this cook, stirring frequently, until the roux turns a light brown. Add a little broth (from a carton or from the boiled giblets/chicken neck). The paste will bubble and thicken. Keep adding the broth bit by bit, stirring until smooth, until the gravy reaches your desired thickness. Taste and salt/pepper if needed. By now the chicken should be rested and ready to eat!


[…] Roast Chicken — can be inspiration for your roast Turkey. The aromatic and herbs would all work wonderfully. Be sure to adjust the cooking time to suit the size of your turkey! […]